Last week we went over three tips to aid anyone putting together a green screen workplace. This week, let's look into some imaginative ways for using that workspace.
1) Virtual read-a-longs can have more visual representations than simply a book the reader is holding. In addition, the reader can also use a background to help with the narration of the story. Sofia Ramirez, a teacher who supports DHH teachers with remote learning, has created the following video with an example of this using the story, “Five Little Monkeys Jumping on the Bed.” By using tape or Velcro, Sofia is able to move, add or remove the monkeys as the story progresses.
2) Adding green screen shapes to a scene is a great way to make windows or television screens. All we need to achieve this is some green-coloured paper cut out and an idea to use it, which leads us to the next project idea.
3) Reach or climb out of a frame. This has some interesting scenes we can play with, including the horror movie, “the Ring.” The youtube page, Wondershare Filmora Video Editor, has great instructions on how to replicate this effect and you can watch it below.
The video states a green screen is required behind the subject and in front where the subject will reach or step out to interact with our foreground layer. The green section in front of the subject requires a few elements to help be successful here.
First, we need it to be aligned both with the edge of the background and with any area we plan to interact with. In Wondershare Filmora Video Editor’s video, you can see they were successful aligning their background but had run into issues with how the subject was stepping out of the television. The problem adds an additional step in the editing process but, as they have shown, it is easy to rectify.
The second key element is that our green object in the foreground needs to be stable or firm if we are to interact with it. For example, if we need to lean on it in any way then that object needs to be able to support our weight and that any cloth is securely attached.
4) Adding a reflection of the subject. Brandon Fate has created an example of this by flipping the subject and lowering the opacity to make it blend with a surface. This trick allows us to merge two scenes and make it believable.
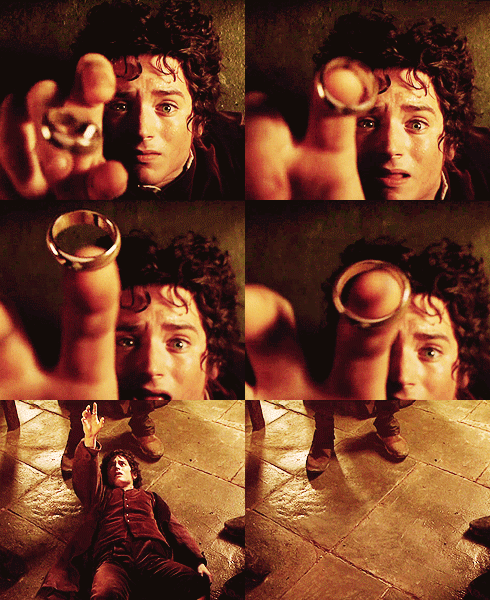
5) Shrinking or growing a subject. One of the first things we try with green screens is shrinking something. In Brandon Fate’s previous youtube video we can see this being put into practice with the tie fighter. With enough planning we could even make scenes involving characters like the half-giant Hagrid from Harry Potter and the small hobbits from Lord of the Rings.
6) Removing a limb. Ever play swordfight as a child where someone would get their arm chopped off? They would pull their arm into their shirt and hide it behind their back. It can look a bit cumbersome but gets the job done. When we have the time and want to stage this effect on camera, we can wrap that limb in green to hide it for the scene.
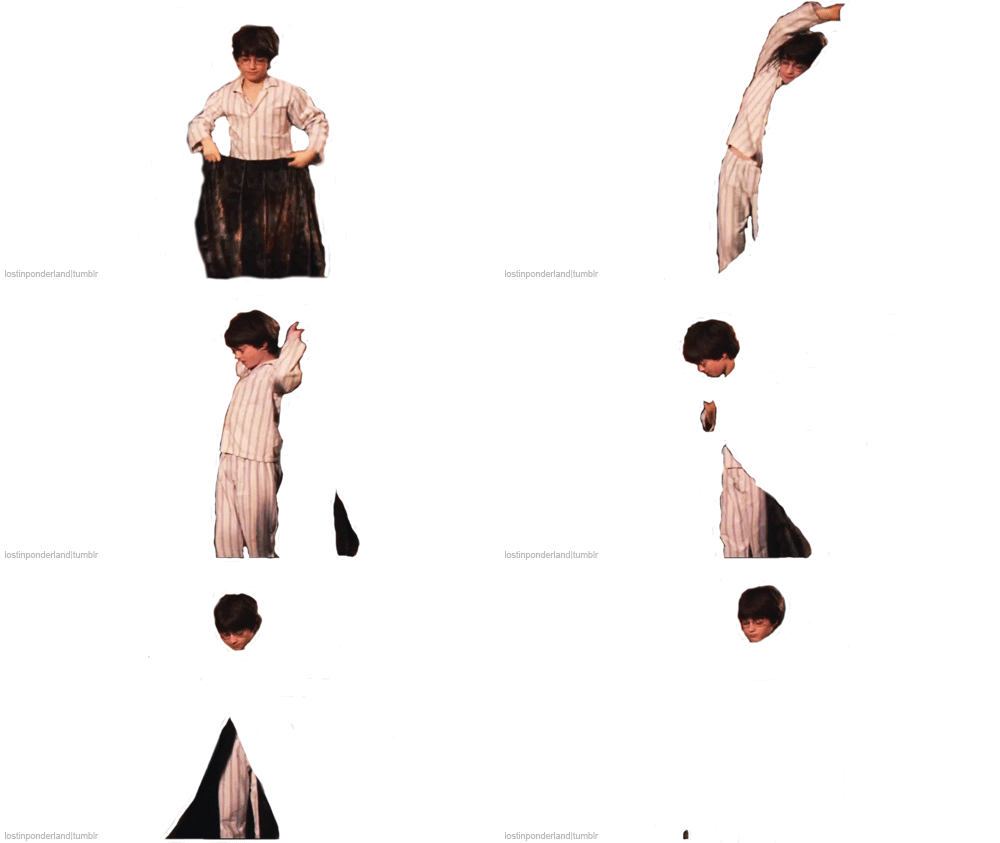
Instead of hiding a limb we could also disappear entirely under a cloak of invisibility or the like. To achieve this, we require some green fabric to pull over ourselves and the technology will do all the work for us. Give it a try and watch yourself vanish like Harry Potter. Just keep the mischief to a minimum.

Now that we have a handful of inventive ways for using a green screen it would be best to mention that anyone can use the Temiskaming Shores Public Library’s green screen wall located in the Creator Space. The public is welcome to use this space during the hours of operation. If the individual or group needs access to a device to record and work on the editing process, our library can lend out its iPad during that time. If a library member would like to do green screen projects at home or outside the library there is a portable green screen that can be signed out.


 Subscribe to this page